Arduino Guide
Installing Arduino IDE
1. Go to Arduino.cc/en/software
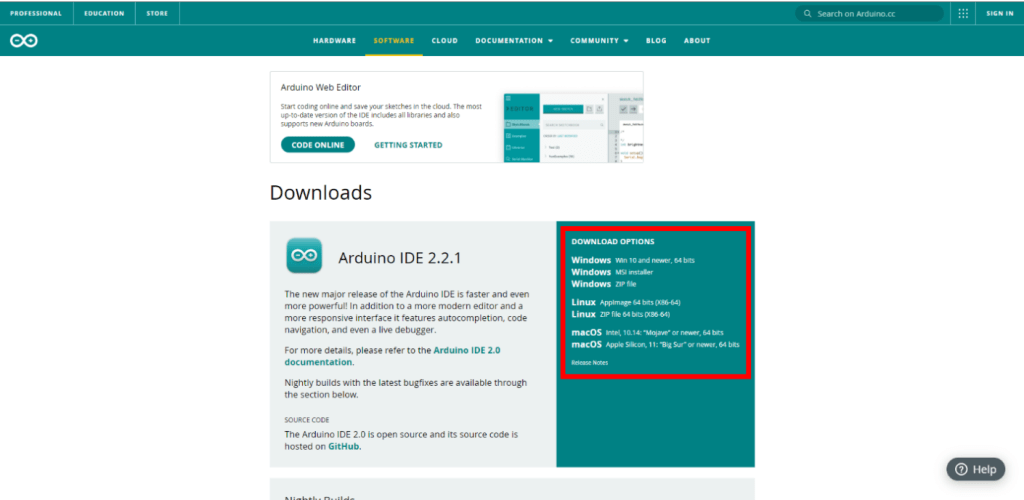
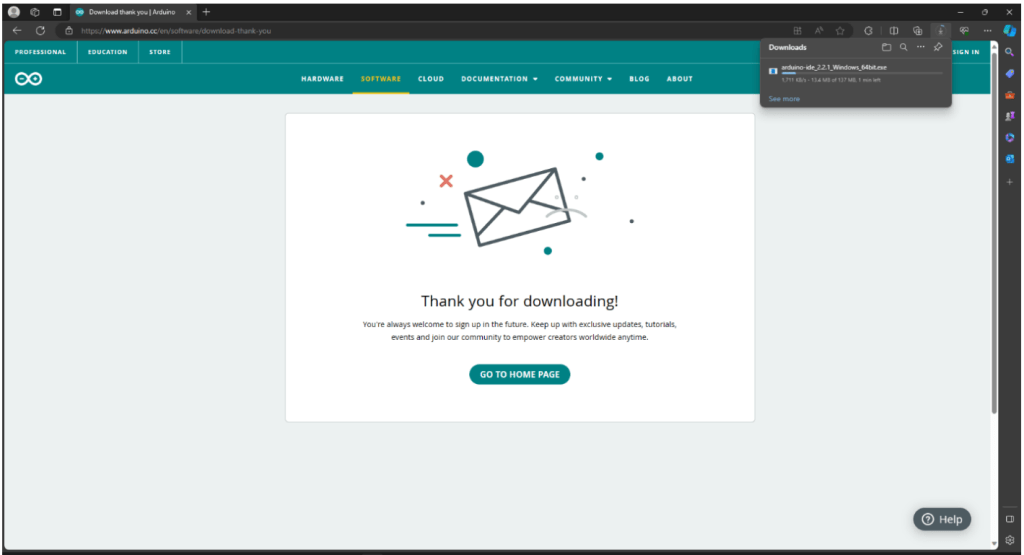
2. Select the appropriate type from the DOWNLOAD OPTIONS section based on your computer Operating System. Then it will start downloading.
3. Go to the folder where the Arduino IDE EXE file is located.
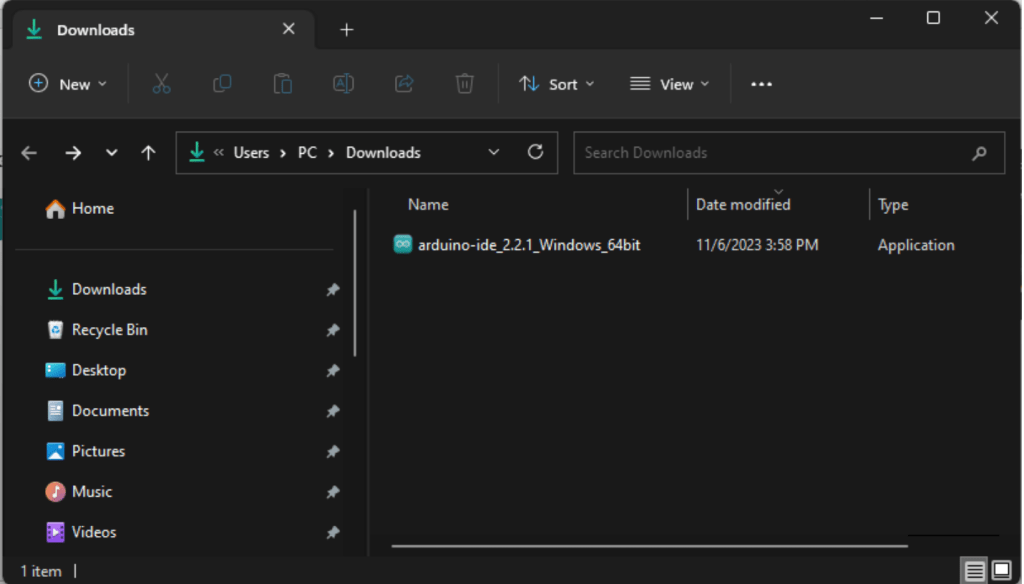
4. Run the installation by clicking on the downloaded file
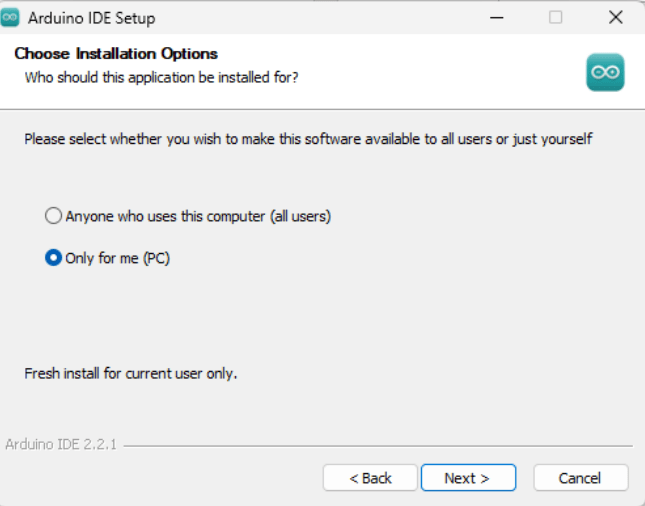
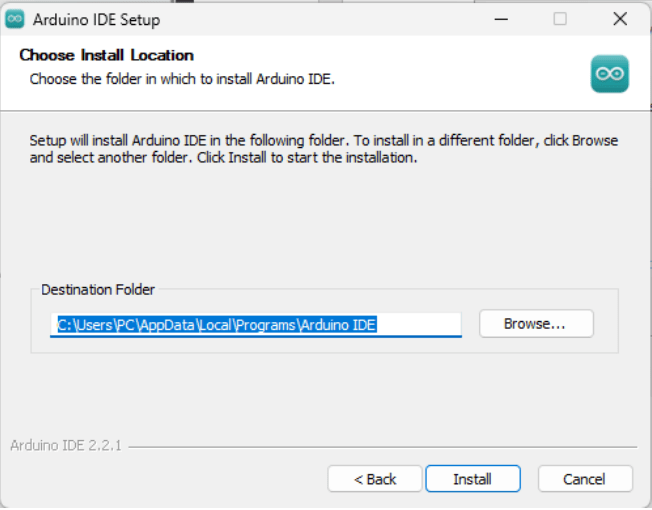
5. Select the Installation Location. You can use the default location or change it based on your preference
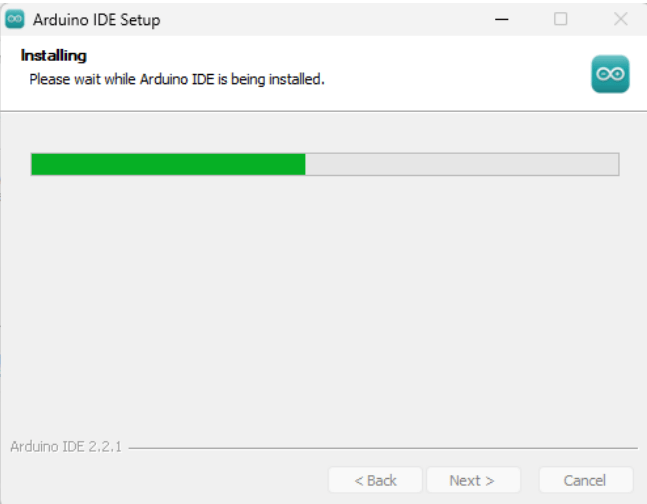
6. The setup will now install the IDE
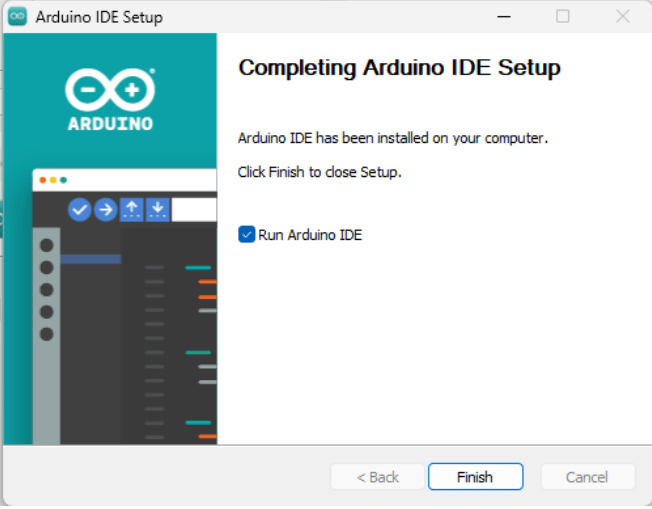
7. Click Finish to close the installation setup. Tick Run Arduino IDE to automatically open the IDE after the setup closes or manually open the IDE after closing the setup.
This is the initial view when the Arduino IDE is opened.
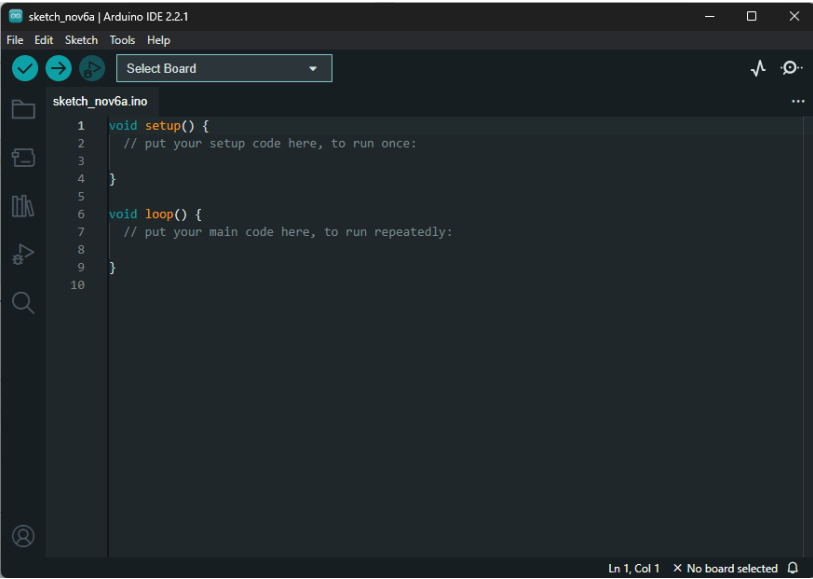
Text Editor :-
The central area where you write and edit your code. It consists of two main functions, setup() and loop().
• setup(): A function that is called once when your program starts. It’s used to initialize variables, pin modes, start using libraries, etc.
• loop(): The main code block of your program, which runs over and over again.
Message Area :-
Located at the bottom of the window, this area displays the status of your code compilation and other messages like errors or the progress of uploading your code to the Arduino board.
Toolbar :-
• Verify Button: Compiles your code and checks for errors.
• Upload Button: Sends your compiled code to the connected Arduino device.
• New, Open, Save: Buttons for managing your sketches (code files).
• Serial Monitor: Opens a new window that displays data sent from the Arduino board back to the computer.
• Board and Serial Port Selection: In the top-right corner, you select the model of the Arduino board you are using and the serial port it’s connected to.
Tabs: Allow you to have multiple files open at once, which is useful for organizing larger projects.
Sketchbook Name: At the top of the window, it shows the name of the current sketchbook (code file) you are working on.
Setting up Arduino IDE for Xfly Nano Drone :-
To connect the X-Fly Development Board to your PC or laptop, follow these steps:
1. Use the micro-USB to USB A cable to connect the Xfly board to your computer.
2. Open the Arduino IDE, and go to the ‘Select Board’ menu to choose the correct COM port for the Xfly board and select ‘ESP32C3 Dev Module’ as the board type.
3. The Xfly board is based on the ESP32-C3-MINI-1 microcontroller, which requires specific dependencies to be installed in the Arduino IDE.
4. Upon selecting ‘ESP32C3 Dev Module,’ a prompt will appear in the bottom right corner of the IDE stating, “The ‘esp32 [v 2.0.11]’ core must be installed for the currently selected ‘ESP32C3 Dev Module’ board. Would you like to install it now?”
5. Click ‘Install now’ to automatically install the required dependencies. Alternatively, you can manually install the dependencies by opening the ‘Boards Manager’ from the left side menu bar and searching for ‘esp32’ by Espressif Systems.
QubeBots Pvt Ltd is a startup that focuses on developing Edutech products to support the global STEM Education system.
Contact us
hello@qubebots.com
+94 77 069 5151
Colombo, Sri Lanka